Vetulaniego 1a St.

Cracow, 31-227

+48 726 800 200

Customer Service

8:00 - 16:00

Monday - Friday

How do I prepare files for printing?

How do I prepare
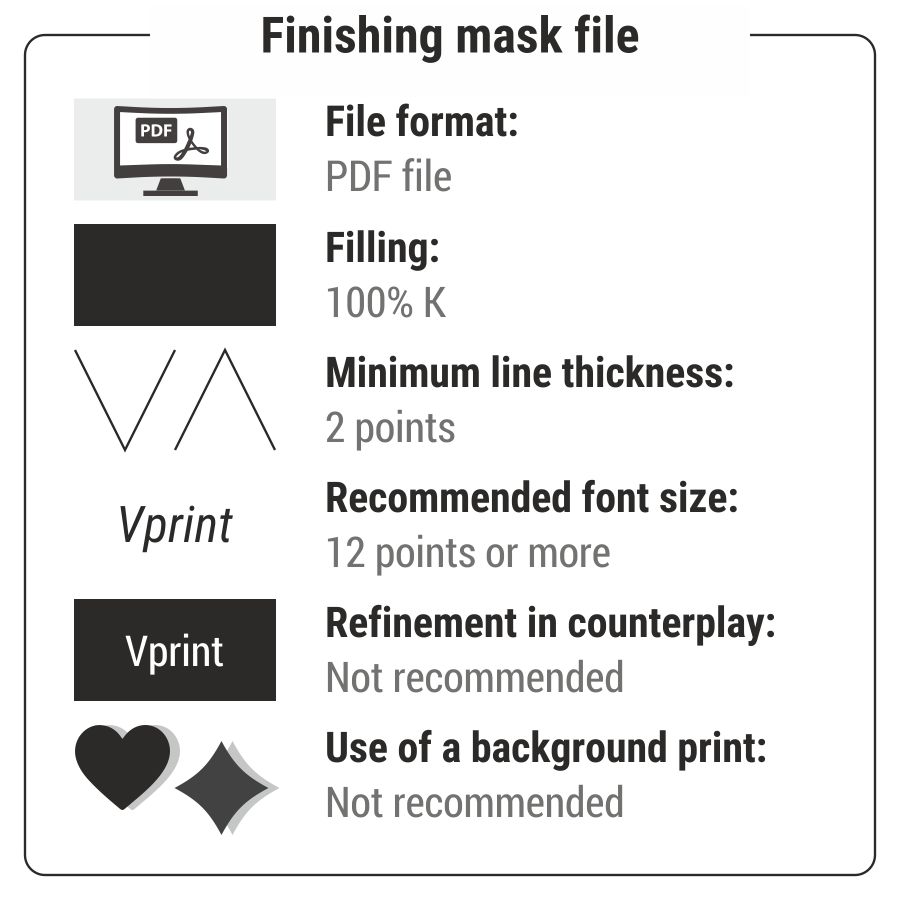
a file for printing and a mask?
How do I set up
the bleed and margins?
Print resolution:
How to avoid pixelation?
How do I prepare
stitched and glued booklets?
Materials in custom
shape – examples
Mock-ups
for download
Folder die-cuts
for download
Exporting PDF files
from Illustrator
Exporting PDF files
from CorelDraw
Exporting PDF files
from Canva
Sharing a link to the project
in Canva
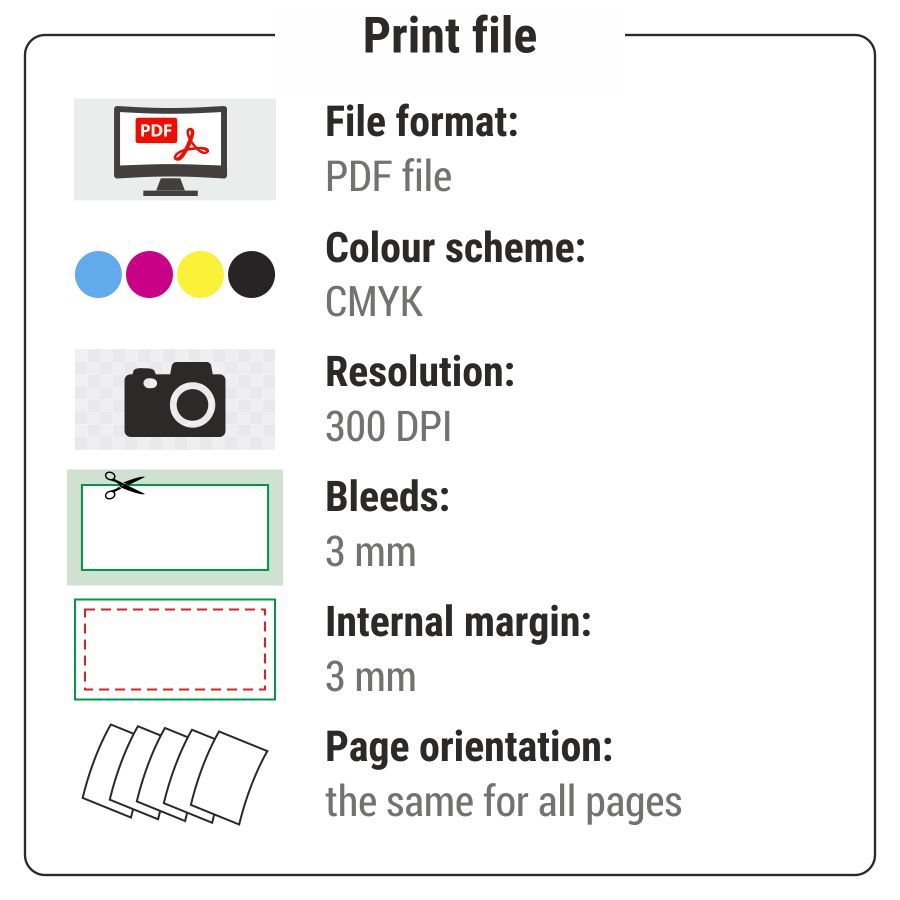
How do I prepare a file for printing and a mask?
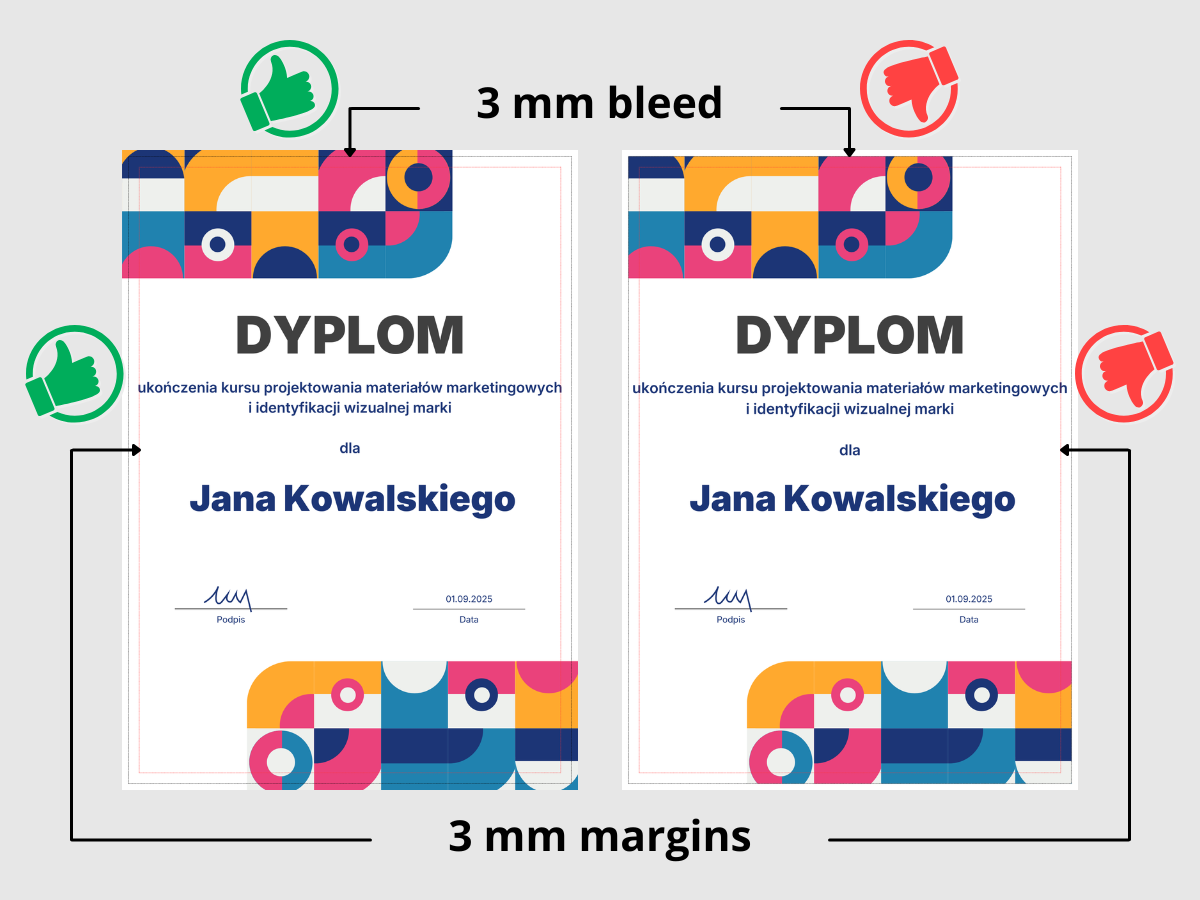
How do I set up the bleed and margins?
Print resolution: How to avoid pixelation?

A common mistake when ordering prints is to send a file with too low a resolution. The result? Blurred edges and visible pixels.

To avoid this, bear in mind the following three rules:

  1. DPI (Dots Per Inch): This is the number of image dots per inch of the print. The higher the value, the sharper the image.
  2. Distance matters: The required resolution depends on the distance from which you view the finished work:
    • 300 DPI The standard for hand-held materials (leaflets, business cards, albums, small posters).
    • 150 - 200 DPI Suitable for medium and large posters (A2, B2, A1 and B1 formats) that are viewed from a distance of 1–2 metres.
    • 72 - 100 DPI Suitable for large-scale displays (large banners, mesh banners on buildings) that we view from a considerable distance.
  3. File format: Save your work in PDF format, and your photos in lossless TIFF or high-quality JPG format.

To check whether your photo is the right size for printing, click on Pixels-to-millimetres calculator.
×

Pixels per mm calculator

Maximum print size: 0 x 0 mm *Dimensions without compromising on the chosen quality.
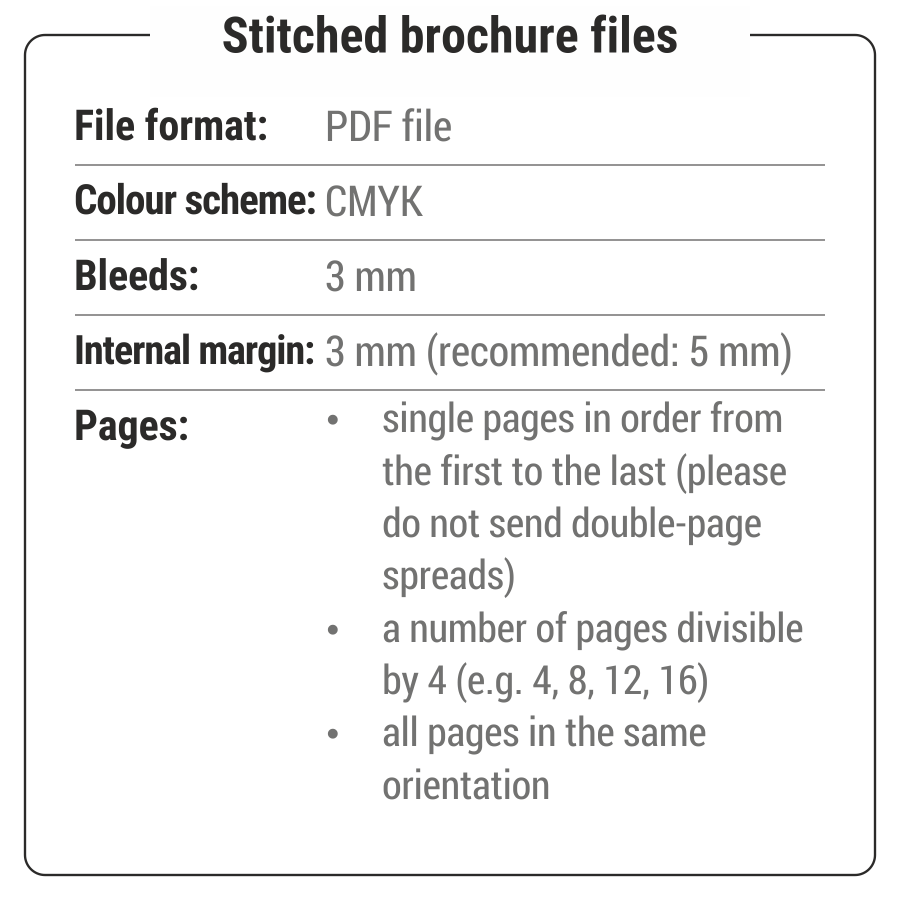
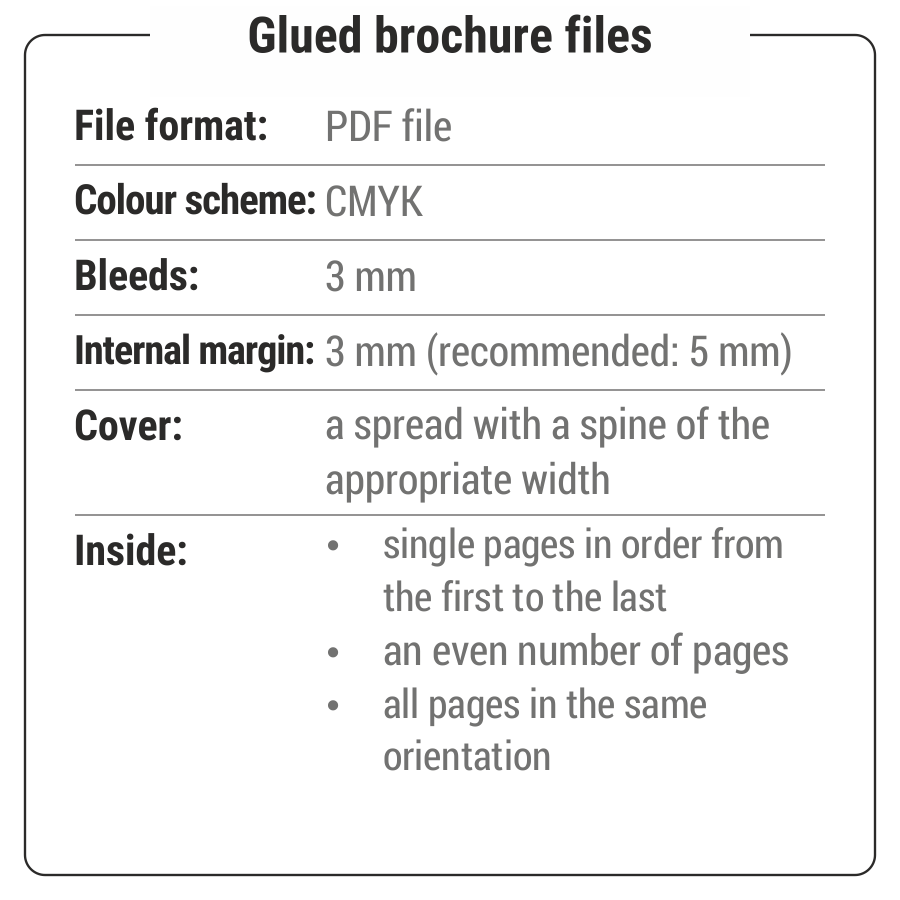
How do I prepare stitched and glued booklets?

A4 brochure mockup
(cover and inside)

A4 brochure mockup
(inside)

Brochure
spine calculator

×

Brochure spine calculator

Brochure spine width: 0.000 mm Please note: The calculator is currently in the testing phase – please confirm the ridge width with our Customer Service Department.
Materials in custom shape – examples

Die-cut sticker
along the outline

Transfer sticker
without a background

Pendant cut
along its outline

Box cut and creased
along its outline

Mock-ups for download

Business card 90x50 mm

Business card 85x55 mm

Flyer A4

Flyer A5

Flyer A6

Flyer DL

Flyer A4 to A5
folded in half

Flyer A4 to DL
folded in C

Flyer A4 to DL
folded in Z

Flyer 2xDL to DL
folded in half

Poster A1

Poster A2

Poster A3

Poster B1

Poster B2

Banner 200x100 cm

Roll Up 85x200 cm

Roll Up 100x200 cm

Folder die-cuts for download

Standard
single-crease

Standard
double-crease 5,5 mm

Standard Plus
single-crease

Standard Plus
double-crease 5,5 mm

Standard Plus
double-crease 10 mm

Exporting PDF files from Illustrator
  1. Create a new project and set its dimensions in millimetres, or open an existing project.
  2. When designing for print, we recommend using CMYK colours.
  3. Set the print bleed to 3 mm. A guide line will appear in the programme, indicating the bleed area.
  4. Place key text at a safe distance from the edge (3 mm margin) to ensure it is not cut off during cutting.
  5. Save or export the project:
    • Select File > Save As, choose the PDF format, and then click Save.
    • In the Markups and Bleeds section, select and tick the Use document bleed settings box, then click Save.
    • Before saving the document, make sure that the text has been converted to curves (to convert text to curves: select the text, then choose the option Text > Convert to Curves from the top menu.
    • If necessary, select other options, e.g. adding cut marks.
Exporting PDF files from CorelDraw
  1. Create a new project and set its dimensions in millimetres, or open an existing project.
  2. When designing for print, we recommend using CMYK colours.
  3. Set the bleed to 3 mm and tick the Show bleed option. A guide line will appear in the programme, indicating the bleed area.
  4. Place key text at a safe distance from the edge (3 mm margin) to ensure it is not cut off during cutting.
  5. Save or export the project:
    • select File > Publish as PDF (or File > Save as and select the PDF format).
    • In the PDF Settings window, go to the Colour tab and select CMYK.
    • In the Objects section, make sure that the text has been converted to curves to avoid problems with missing fonts at the printers. You can also tick the option to export text as curves.
    • If necessary, select other options, e.g. adding cut marks.
Exporting PDF files from Canva
  1. Create a new project and set its dimensions, or open an existing project.
  2. When designing for print, we recommend using CMYK colours. Find out more about CMYK colours
  3. Add margins and bleed, and adjust certain elements if necessary. Find out more about margins and bleeds
  4. In the editor’s menu bar, select Share.
  5. From the share menu, select Download.
  6. From the File type drop-down menu, select PDF for printing.
  7. Optional:
  8. Click Download. A PDF file will be generated and downloaded to your device.
Sharing a link to the project in Canva
  1. In the list of projects, click the ... button and select Share.
  2. Under ‘Access level’, select the option Anyone with the link.
  3. Click the Copy link button.
  4. Paste the copied link into the email.